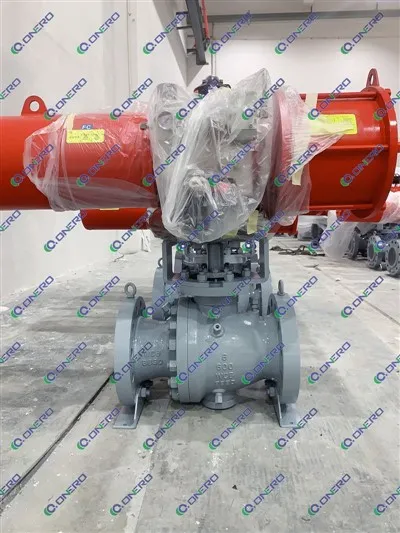
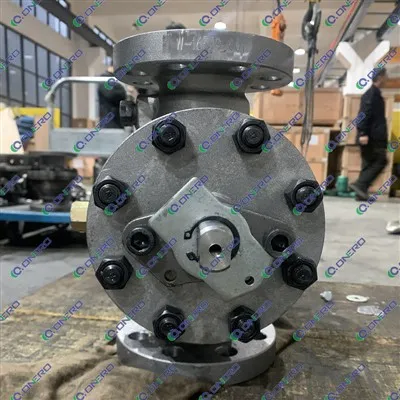
Hey there! As a 4 way ball valve supplier, I've seen my fair share of valve issues, and one of the most common problems is leakage. In this blog post, I'm gonna walk you through how to check if a 4 way ball valve is leaking.
First off, let's understand what a 4 way ball valve is. It's a type of valve that has four ports and a ball with a hole through it. By rotating the ball, you can control the flow of fluid or gas in different directions. These valves are super useful in a lot of industries, like oil and gas, chemical processing, and water treatment.


Visual Inspection
The first step in checking for leaks is a simple visual inspection. Take a good look at the valve from all angles. Look for any signs of moisture, dripping, or puddles around the valve body, the connections, and the handles. Sometimes, you might even see a fine mist or a small stream of the fluid that the valve is supposed to control.
Check the valve's packing glands. These are the parts that seal the valve stem to prevent leaks. If the packing is loose or damaged, it can cause leakage. Look for any signs of wear, such as cracks or fraying. If you see any issues, you might need to tighten the packing nuts or replace the packing material.
Pressure Testing
If the visual inspection doesn't show any obvious signs of leakage, it's time to do a pressure test. You'll need a pressure gauge and a way to apply pressure to the valve.
First, make sure the valve is fully closed. Then, connect the pressure gauge to one of the valve ports. Apply pressure to the valve using a pump or a compressed air source. The pressure you apply should be within the valve's rated pressure.
Let the pressure build up and hold it for a few minutes. Keep an eye on the pressure gauge. If the pressure drops steadily, it's a sign that there's a leak somewhere in the valve. You can try closing the valve tighter or checking the connections to see if that stops the pressure drop.
Listening for Leaks
Another way to check for leaks is to listen for them. Turn off any nearby machinery or sources of noise so you can hear clearly. Put your ear close to the valve and listen for a hissing or whistling sound. This could indicate a small leak, especially if the valve is handling a gas or a high - pressure fluid.
You can also use a stethoscope to amplify the sound. Place the stethoscope on different parts of the valve, including the body, the connections, and the stem. If you hear a distinct hissing or whistling, you've found a leak.
Dye Testing
For more hard - to - detect leaks, you can use dye testing. There are special leak detection dyes available that you can add to the fluid in the valve system. These dyes are visible under certain lighting conditions, usually ultraviolet light.
Add the dye to the fluid according to the manufacturer's instructions. Then, let the fluid circulate through the valve for a while. After that, use a UV light to inspect the valve. If there's a leak, the dye will seep out and be visible under the UV light. This method is great for finding small leaks that might not be detectable by other means.
Checking the Ball and Seats
The ball and seats inside the 4 way ball valve are crucial for preventing leaks. Over time, these parts can wear out or get damaged. To check them, you'll need to disassemble the valve.
First, make sure the valve is depressurized and isolated from the system. Then, carefully remove the valve cover and the ball. Inspect the ball for any signs of scratches, dents, or corrosion. Check the seats as well. If the seats are damaged, they won't form a proper seal with the ball, which can lead to leakage.
If you find any issues with the ball or seats, you might need to replace them. It's important to use high - quality replacement parts to ensure the valve works properly.
Common Causes of Leakage
Now that you know how to check for leaks, let's talk about some common causes. One of the main causes is improper installation. If the valve isn't installed correctly, it can put stress on the seals and cause leakage. Make sure the valve is aligned properly and the connections are tightened to the correct torque.
Another cause is wear and tear. Valves are used in harsh environments, and over time, the parts can wear out. Regular maintenance can help prevent this, but eventually, some parts might need to be replaced.
Corrosion is also a big problem. If the valve is exposed to corrosive fluids or gases, it can damage the valve body and the seals. Using valves made from corrosion - resistant materials can help prevent this issue.
Related Products
If you're in the market for other types of ball valves, we also offer some great options. Check out our Top Entry Ball Valve, which is designed for easy maintenance and repair. We also have the Top Entry Trunnion Ball Valve, which is ideal for high - pressure applications. And if you need a stainless - steel valve, our Wafer Ball Valve Stainless Steel is a great choice.
Conclusion
Checking if a 4 way ball valve is leaking is an important part of maintaining your valve system. By using visual inspections, pressure testing, listening for leaks, dye testing, and checking the ball and seats, you can quickly identify and fix any leakage issues.
If you have any questions about our 4 way ball valves or need help with leak detection, don't hesitate to reach out. We're here to help you find the right valve solutions for your needs. Whether you're a small business or a large industrial operation, we've got the expertise and the products to keep your systems running smoothly.
References
- Valve Handbook, Second Edition by J. Paul Tullis
- Industrial Valves: A Practical Guide by David W. Spitzer